After moving from Subversion to Git we struggled to adapt our old branching strategy, which was to do all work in trunk and then cherry pick bunches of commits into a release branch for QA/deployment. Git prefers to merge whole branches at a time, while cherry pick is supported it results in a different commit being made in the target branch and gets messy very quickly.
For most projects we just moved to a more sprint-based approach using gitflow or gitlab flow, did work in feature branches, pull request into master when dev complete, then master is deployed to test site, when a sprint worth of work is complete, either deploy straight from master or a release branch.
However, a few projects didn’t suit this because we always have a number of workstreams on the go at the same time: a few may need to be deployed to test together, but then end up going live one at a time in another order. Feature flags and automated tests are great but sometimes bad code just gets into master, and having this go live would be a nightmare. I concluded:
-
Work must remain in feature branch until it is GO LIVE READY:
- Code reviewed by another dev
- Automated tests pass
- Manual QA pass
- Approved by product owner
So we can set branch policy on master to require a few people to approve, and a working pull request build which runs unit tests. With that in mind we now have master is basically live, and feature branches in various states. How to test them?
- Deploy one branch at a time to test site. Impractical if multiple workstreams need to be visible at once.
- Set up an environment for each branch ready to test. A lot of effort and potentially cost.
- Merge the “ready” branches into a copy of master then deploy this to the test site.
Option 3 was the only option for some projects. But the thought of maintaining a ‘qa’ branch by manually merging the correct features into it sounds terrible. So we automated it.
In VSTS we have a Build that is manually triggered, it checks out the latest master branch then runs this powershell:
git fetch origin
git reset
git config --global user.name GitTask
git config --global user.email [email protected]
git checkout -b uat/$(Build.BuildNumber)
git merge --no-ff $(branches)
if ($LastExitCode -ne 0) {
  throw "Merge Failed"
}
git push --set-upstream origin uat/$(Build.BuildNumber)
There is a build variable which lists the branches ready to be tested e.g. “origin/feature/123 origin/feature/245 origin/bugfix/123”. This is manually edited when a new branch needs to be included for test, then a build queued. This is doing an ‘octopus merge’ i.e. merging multiple branches into one.
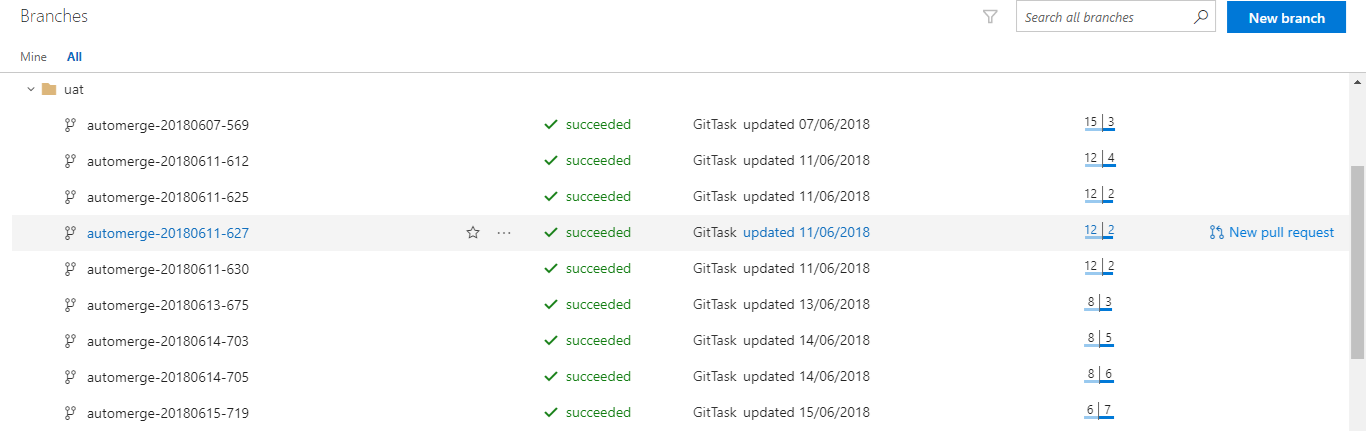
It checks this into a branch named based on the build number e.g. uat/{date}-{count} or whatever you like. This is so you can manually interrogate the result of the merge (and what has been deployed) and also to split the merge from the actual build. To enable the script to “git push” I had to edit the repository security and enable ‘Create branch’ and ‘Contribute’ permission for the ‘Project Collection Build Service’.
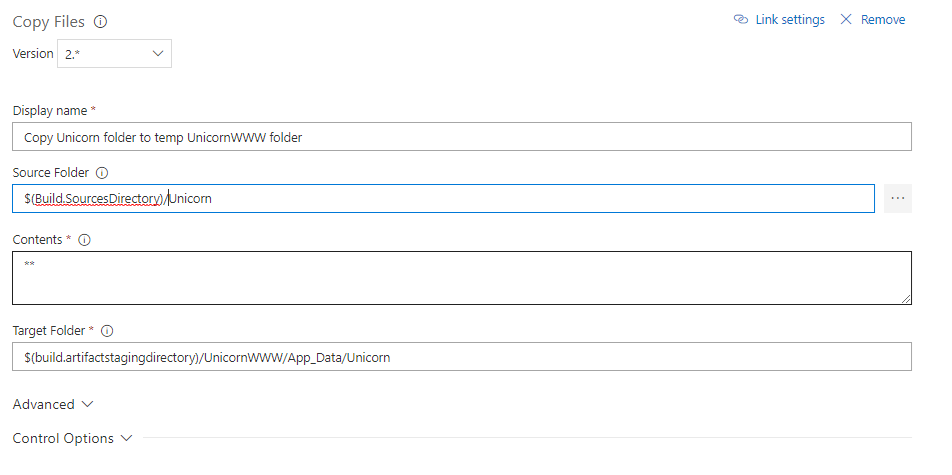
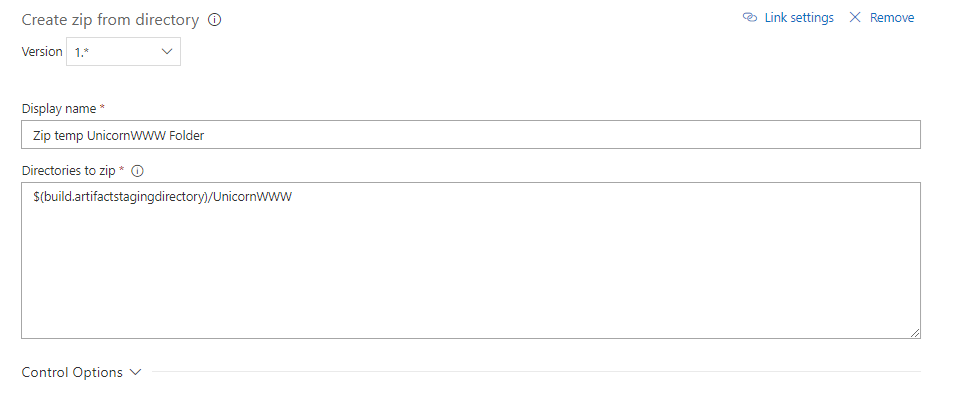
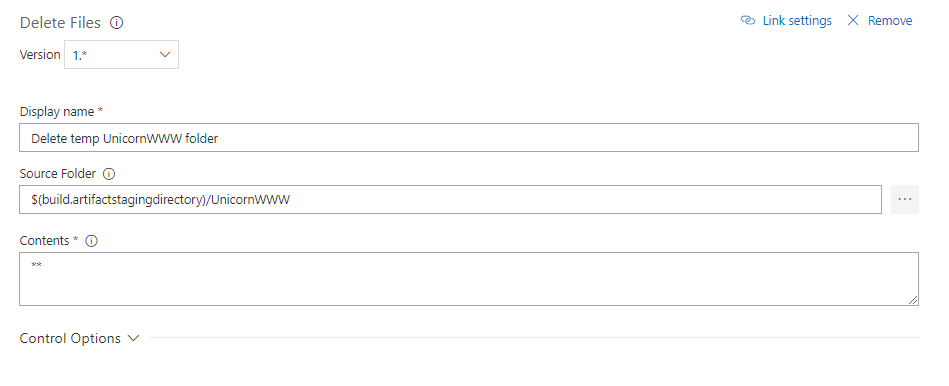
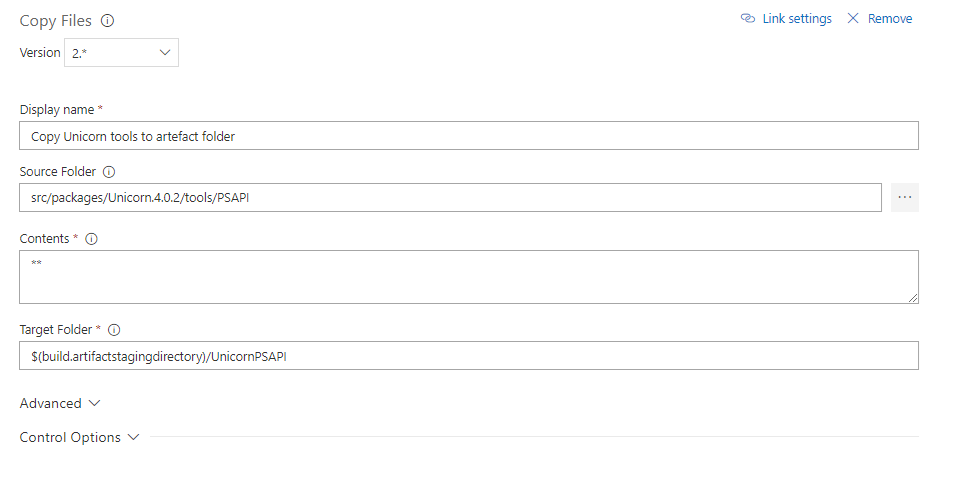
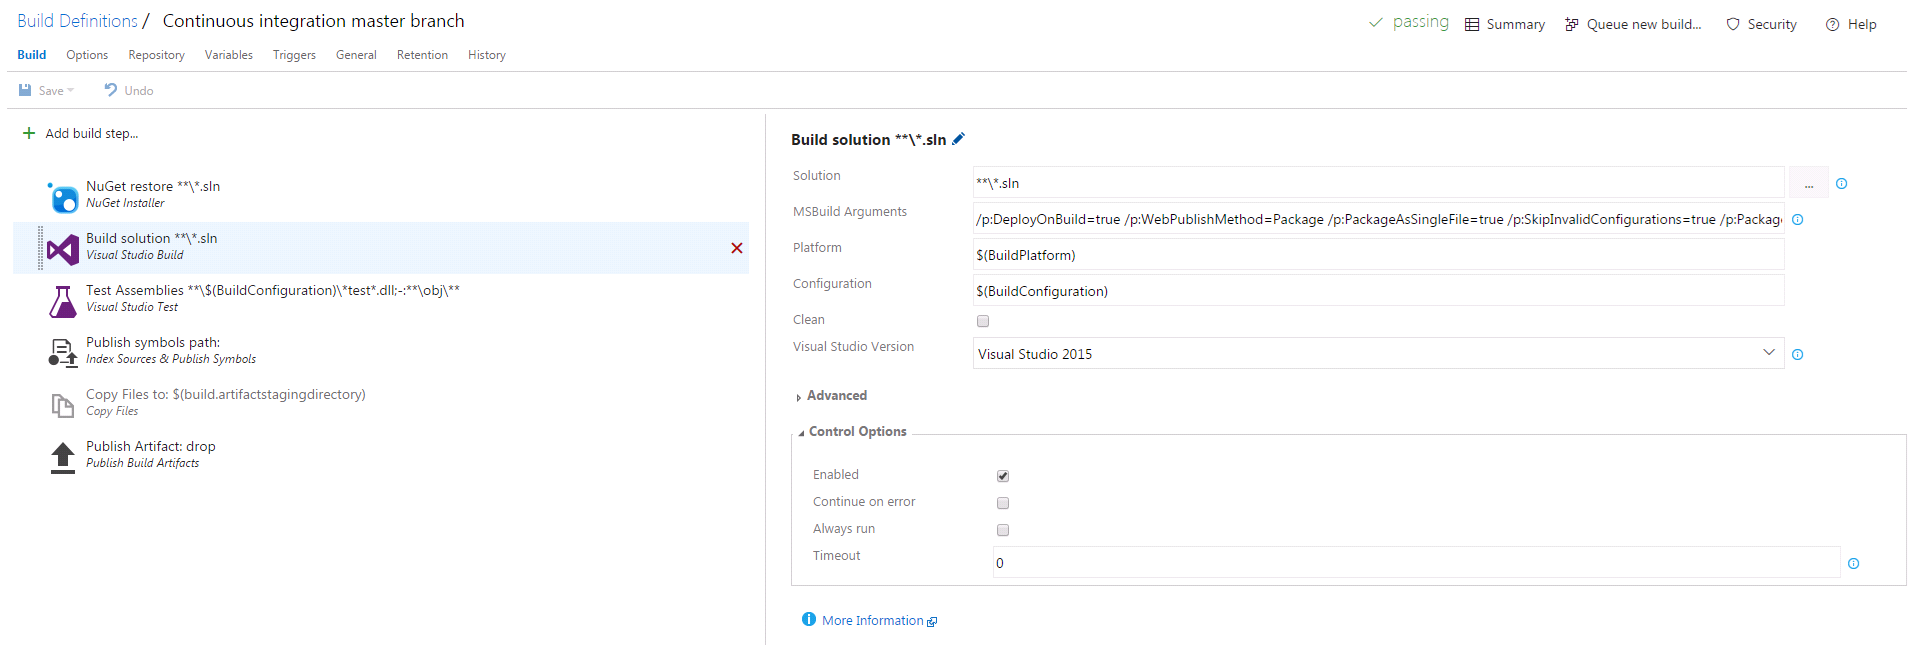
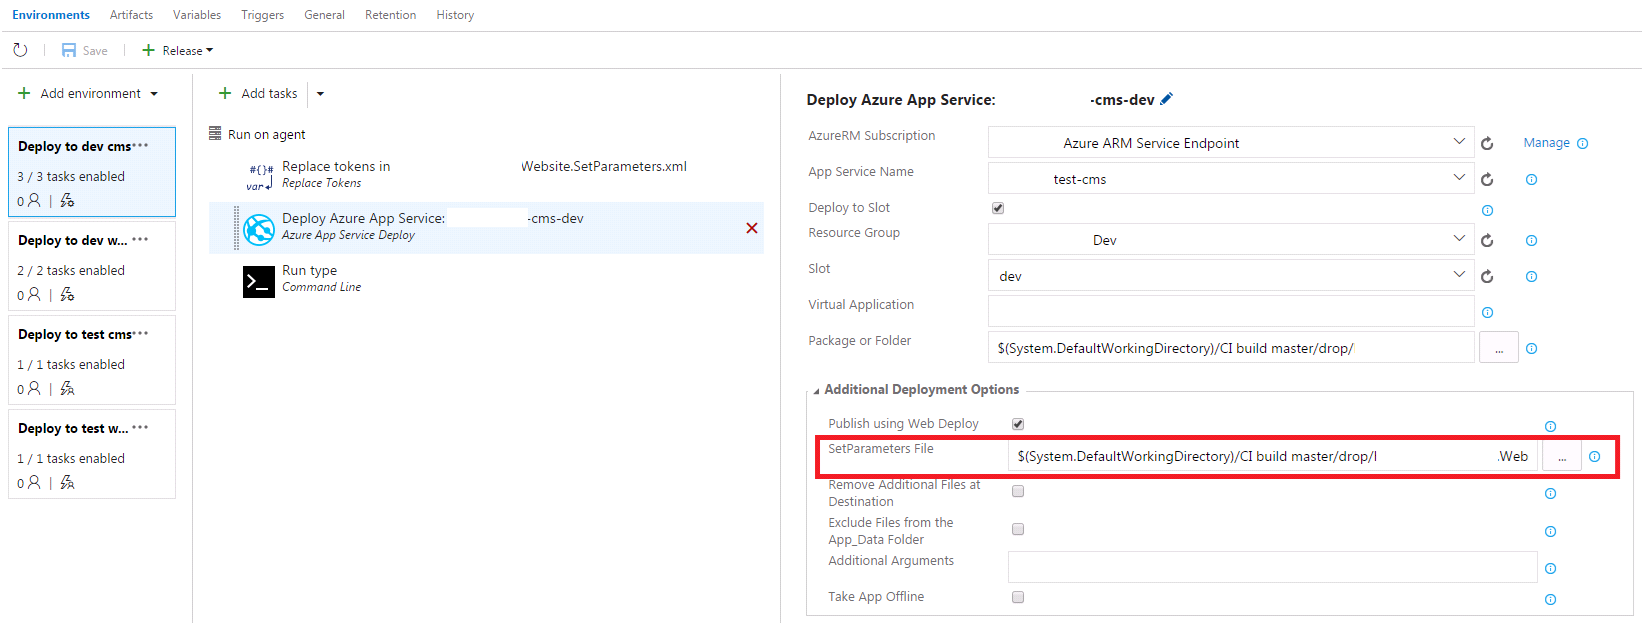
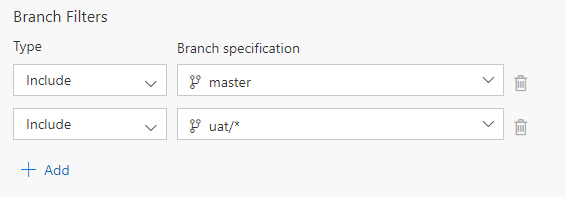
Then there is a normal Build which compiles the code and generates an artefact (web deploy package in our case) which is set to trigger on uat/* as well as master (the same build generates the artefact from master branch which is deployed to live).
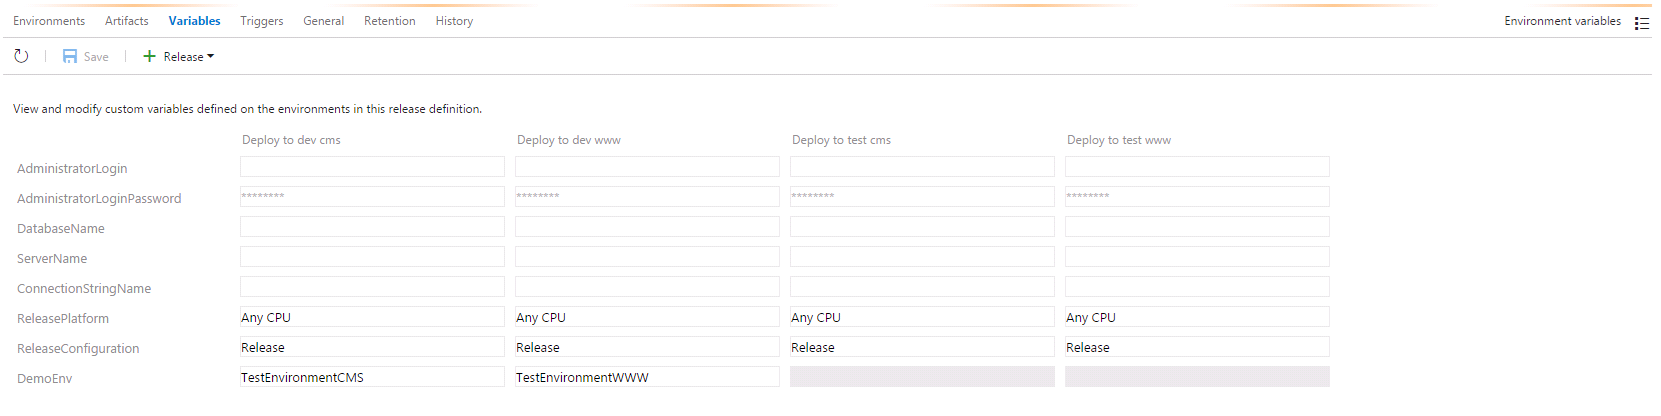
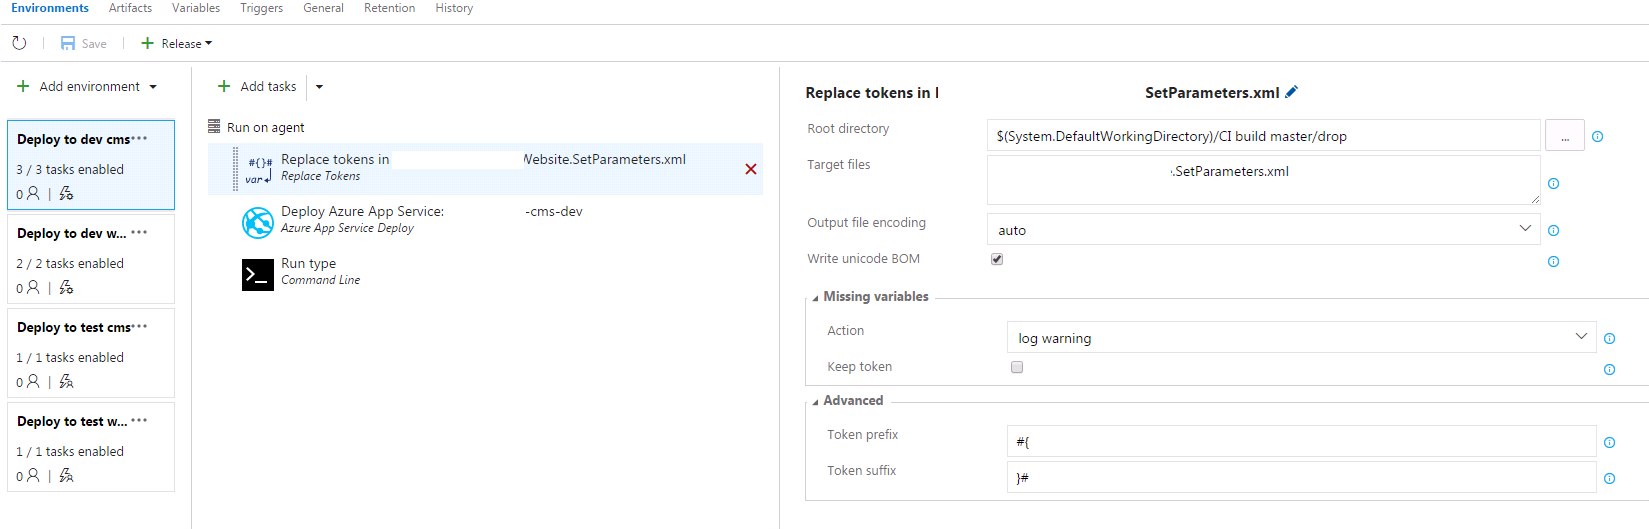
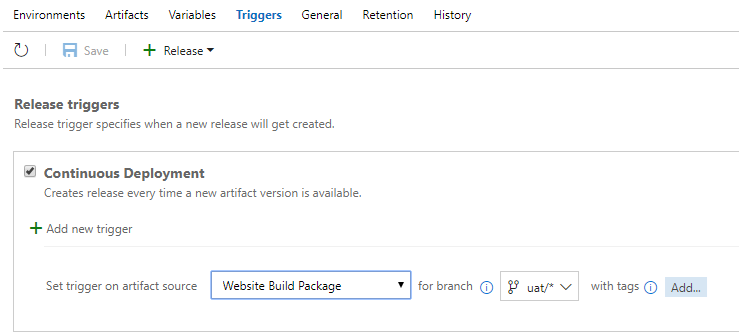
Then we have a Release which picks up this build (also filtered on branch uat/*) and deploys it to the QA site.
So if a developer updates any of the branches in QA they only have to queue the automerge build.
Once a particular change is approved and the pull request closed, this triggers the build from master, which triggers the start of a deployment pipeline to deploy to staging and then live (with manual approval steps).
This has worked pretty well so far, and solved the problem of multiple workstreams for us. I would only suggest something like this if you have tried to work in a normal git branching strategy and it isn’t working out. As it could come back and bit us if we let the feature branches get too large, the merge might continually fail, or we might get lazy at closing pull requests, etc. But I thought I’d share in case this helps anyone with a similar issue.